
How to Screen Mirror Android to a PC: Windows Methods Explained
Learn how to screen mirror Android to a Windows PC using Wireless Display, Phone Link, third-party apps, or USB tools—with setup tips and fixes.
Want to put your Android phone or tablet screen on a Windows PC? The right method depends on what you actually need. If you only want to view your screen wirelessly, Windows Wireless Display may work. If that native option is unavailable, a dedicated mirroring app can be the easier route. If you need a responsive connection and PC-side control, a USB-based tool is usually the better fit.
Phone Link can also be useful on supported Android devices, but it is a Windows–Android companion experience rather than a universal way to mirror every Android screen. That distinction matters: phone access, screen viewing, keyboard-and-mouse control, recording, and audio are not automatically included in every method.
Before You Start: Pick the Right Method for Your Goal
Use this quick comparison to avoid setting up a route that cannot do what you need.
Method | Best for | Main limitation |
Windows Wireless Display / Miracast | Viewing an Android screen wirelessly with compatible hardware | Both the phone and PC need compatible casting/receiver support |
Third-party wireless mirroring app | A straightforward wireless alternative when native casting does not work | Features, compatibility, and pricing vary by app |
USB-based mirroring | Responsive display, demos, development, and PC-side control | Usually requires a data cable and extra Android permissions |
Phone Link | Everyday access to supported phone features on Windows | Available features vary by Android device; it is not universal screen mirroring |
Before choosing a method, decide whether you need to view the phone screen, control it from the PC, record it, or hear its audio through the computer. A method that is excellent for casual viewing may not be the best option for app testing, presentations, or low-latency control.
You will also need a compatible Windows PC, an Android device, and the permissions requested by the method you choose. Wireless options need the appropriate wireless connection; USB options need a cable that transfers data, not one that only charges.
If you are unsure which route your devices support, check your Android/Windows combination in a compatibility checker before installing software or changing phone settings.
Method 1: Use Windows Wireless Display When Both Devices Support It
Windows can act as a wireless display receiver on compatible hardware. This is the most direct built-in route when your PC can receive a Miracast/Wireless Display projection and your Android phone supports the same technology. A familiar Cast label alone is not enough: Miracast and Google Cast use different receiver paths, so the phone and PC still need a compatible protocol.
Prepare the Windows PC as a wireless display
On the Windows PC that will receive the phone screen, look for Projecting to this PC in Windows Settings. If Windows offers the Wireless Display optional feature, install it first. Then review the projection settings and open the Wireless Display app before attempting to connect from Android.

Do not assume that every Windows laptop or desktop can receive a wireless projection. Receiver support depends on the Windows version, the wireless adapter, graphics drivers, and sometimes organization-managed policies. If the Wireless Display feature is unavailable or the PC cannot be configured to receive connections, skip to a third-party app or USB method instead of spending time repeating the same setup.
Cast from Android to the PC
On Android, look for a compatible wireless-display option, which may be labeled Smart View, Screen Cast, Wireless Display, or something similar depending on the manufacturer. Select the discoverable Windows PC and accept the connection prompt on the computer.

Once connected, test with a normal, non-protected app first. Rotate the phone, open a few screens, and check whether the display stays connected. This confirms that the basic projection path is working before you try a video app, a presentation, or another task that may have its own restrictions.
When to choose another route
Move on if the Windows PC does not appear in Android’s cast list, the PC cannot receive Wireless Display projections, or your phone does not provide a compatible cast option. Try a dedicated mirroring app or USB-based tool next; use Phone Link only when its supported features fit your goal.
Alternative: Use Phone Link on Supported Android Devices
Phone Link is worth considering when you mainly want convenient access to supported Android features from Windows. Depending on the phone and its software configuration, it can help you work with messages, photos, notifications, calls, and certain phone or app experiences from the PC.
However, it should not be treated as a universal Android screen-mirroring solution. The Android device itself determines which Phone Link features are available, so two phones connected to the same Windows PC may not expose the same options.
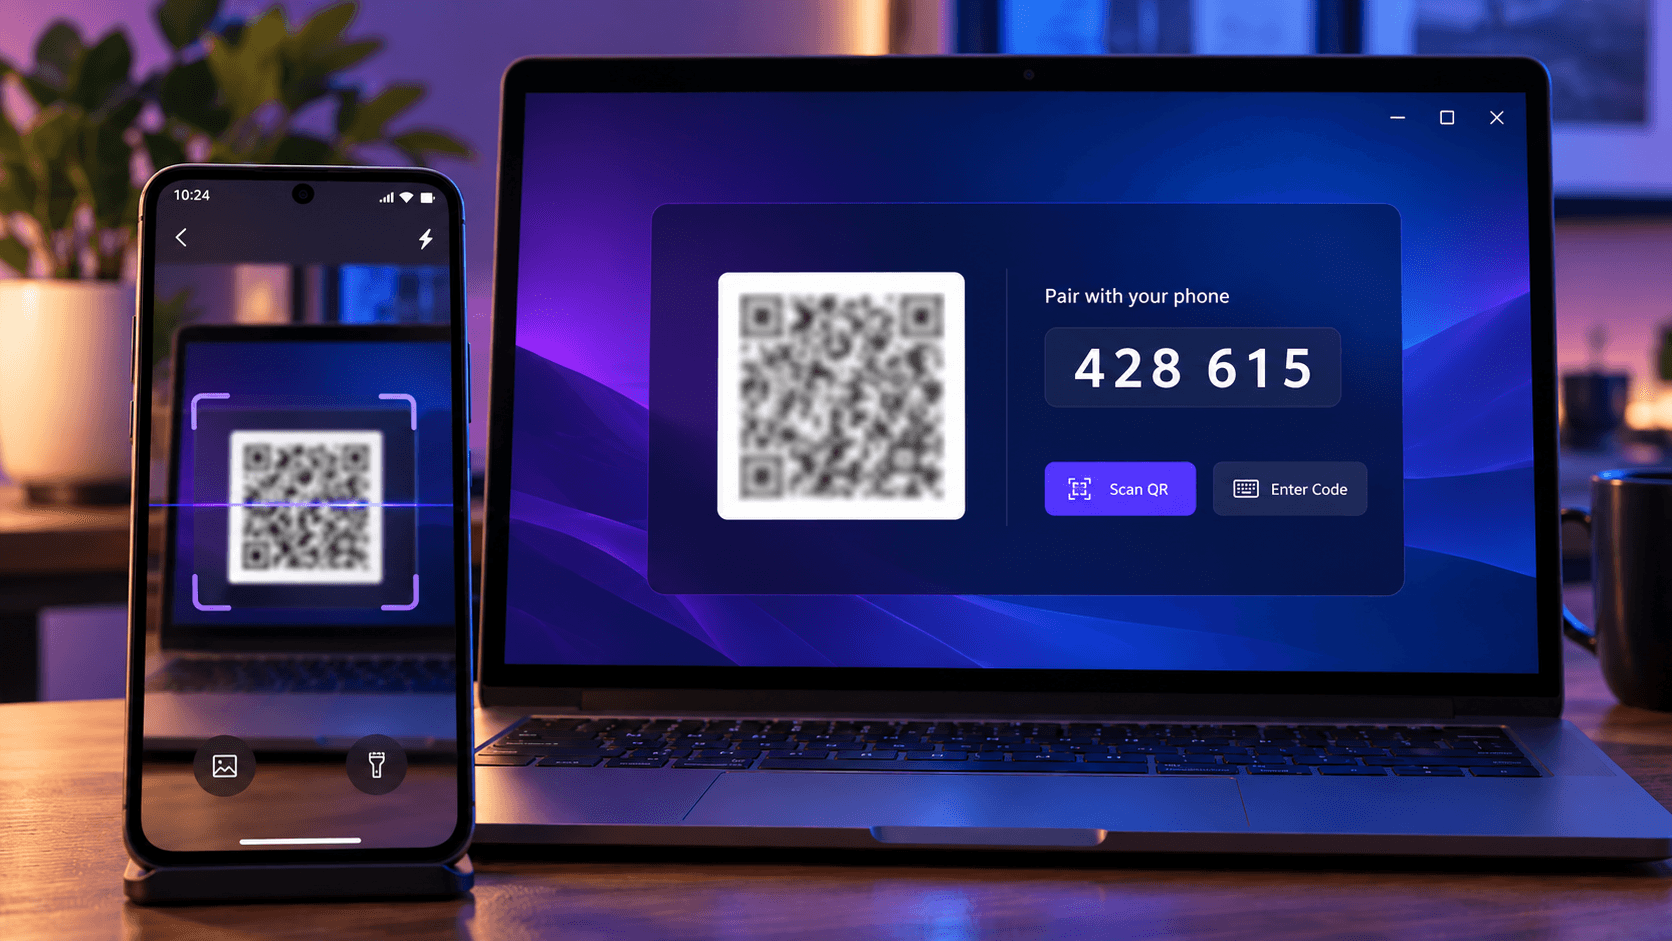
To set it up, open Phone Link on the Windows PC and follow the pairing flow. On Android, use Link to Windows when the device needs it, scan the QR code or pair manually, and approve the requested permissions. Microsoft's Phone Link setup requirements call for an Android device running Android 10 or later and both devices on the same Wi-Fi network; device-specific feature eligibility still needs to be checked for the particular phone.

After pairing, look at the features Phone Link makes available for your device. If you need a full mirrored screen but do not see an appropriate option, return to Wireless Display, a dedicated mirroring app, or a USB-based tool rather than assuming the pairing failed.
Method 2: Mirror Wirelessly with a Dedicated Android-to-PC App
A dedicated Android-to-PC mirroring app is the practical fallback when native Wireless Display is missing, incompatible, or unreliable. It can also be the easier choice when you want a presentation-oriented workflow with a clear sender app on Android and a receiver app on Windows.
Choose software based on the receiver and the task
Choose a solution that explicitly supports an Android sender and a Windows receiver. Before installing it, confirm the Android-to-Windows connection method, whether both devices must be on the same local network, and whether it includes the one feature you need beyond basic viewing.
Connect on a trusted local network
The typical setup is simple: install and open the Windows receiver, note its device name or pairing method, then install or open the Android sender. Select the PC from the available-device list, or enter a pairing code if the app uses one.
Treat Android's screen-capture permission prompt as a normal part of setup. The phone needs your approval before an app can share what is on the screen. Only accept pairing requests for the PC you intend to use, and avoid using an unfamiliar public network for mirroring sensitive material.
Confirm what the app actually mirrors
Once the connection opens, test the capabilities you care about rather than assuming they are enabled. Check screen orientation, a short interaction, audio output, recording, microphone behavior, and PC-side controls separately. An app may mirror the display successfully while still not supporting audio, control, or recording in your selected connection mode.
This quick validation also makes troubleshooting easier. If the screen is visible but audio is missing, for example, that is an audio-routing or feature question—not necessarily a failed mirroring connection.
Method 3: Use a USB Connection for Responsive Mirroring and Control
Use a USB-based route when responsiveness and control matter more than the quickest wireless setup. Tools such as scrcpy are often used for demonstrations, development, device management, and other tasks where keyboard-and-mouse input on the PC is useful.
This method is more technical than the first two options. It is best for readers who are comfortable granting a trusted computer additional Android debugging access.
Prepare the Android phone safely
Start with a data-capable USB cable. Connect the unlocked Android phone to the Windows PC, then enable Developer options and USB debugging if the tool requires them. When Android asks whether to allow USB debugging from that computer, approve it only if you trust the PC.
USB debugging is a powerful permission. When you are finished, revoke debugging authorizations or turn off USB debugging if you do not need it for another trusted workflow. That keeps the phone from remaining authorized for a connection you no longer use.

Launch the mirror window on Windows
For scrcpy, download the Windows package from the official project releases, connect the unlocked phone by USB, approve the debugging prompt, and launch scrcpy.exe from the extracted folder. The official project documents Android 5.0 or later as the baseline and notes that audio forwarding requires Android 11 or later.
scrcpy can support PC-side input control, but the exact behavior still depends on the Android device and configuration. Verify current requirements before relying on it for audio, recording, game controls, or a device-specific feature.
Android Can't Connect? Run This Quick Checklist
Before trying a completely different method, work through these checks:
Unlock the phone and approve the prompt. Confirm that Android has accepted the required pairing, screen-capture, notification, or debugging permission.
Make the Windows receiver ready. For Wireless Display or an app-based method, make sure the receiver is installed, open, and configured to accept a connection.
Check the wireless path. During the first test, avoid guest Wi-Fi, VPNs, and network isolation that can prevent device discovery. For Windows Wireless Display, also verify that the PC can receive a Miracast/Wireless Display projection.
Check the USB connection. Use a data cable, try another USB port if necessary, keep the phone unlocked, and accept the debugging request when the tool requires it.
Test with an ordinary app. If only one streaming or protected-content app is blank, content protection may be blocking capture even though the rest of the mirroring connection works.
For deeper problems—such as persistent discovery failures, advanced network restrictions, missing sound, black screens across all apps, or excessive lag—use our device-by-device screen mirroring fix guide for the relevant symptom rather than applying unrelated fixes at random.
FAQ
Can I screen mirror any Android phone to a Windows PC?
No. Available methods depend on the Android device, Windows PC, and the receiver or software you use.
Does Phone Link mirror every Android screen?
No. Phone Link features vary by Android device and software configuration. Use it when the available features match your goal, but choose a genuine mirroring route if you need a full projected screen and the needed option is not available.
Can I mirror Android to a PC without Wi-Fi?
Yes. A USB-based method can avoid the same-Wi-Fi requirement, although it may require a data cable and Android debugging authorization. It is usually the better route for people who value responsive control and are comfortable with the extra setup.
Why is my Android screen black on Windows?
First check that the phone is unlocked, capture permission has been granted, and the Windows receiver is still connected. If the issue happens only in one video or streaming app, protected content may be the reason rather than a general mirroring failure.
Start with Compatibility, Then Choose the Simplest Path
Start with the method your Android device and Windows PC actually support. If you are unsure, check compatibility first, then use the simplest route that provides the viewing, control, audio, or recording features you need.
Table of content


Still Need a Hand?
Explore more reviews, step-by-step guides, and troubleshooting tips—or contact us if you could not find the answer you needed.